One such detail is the look of the WordPress editing page. Companies and clients often have a request to modify the form of the sign-in page so that at first glance the company logo, colors, photos or other information are visible.
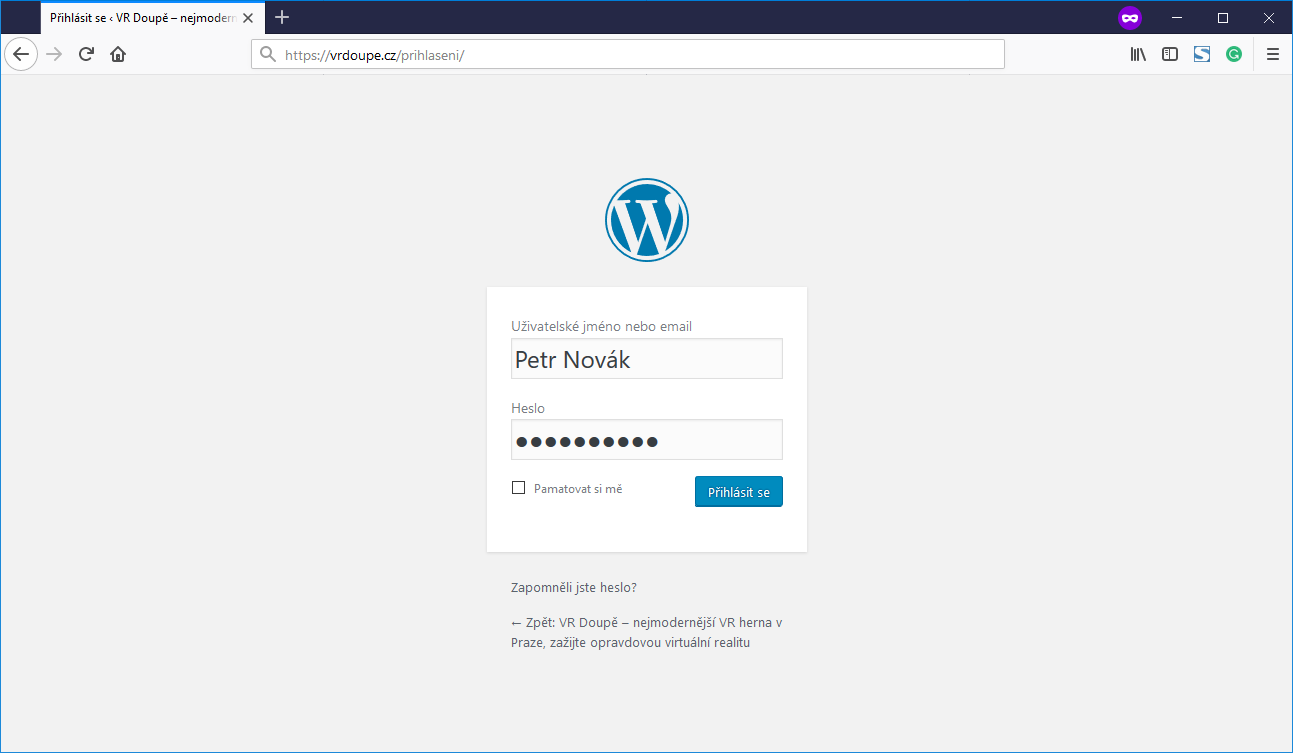
The importance of your own logo in the administration may seem unnecessary to experienced users. But if we look at the whole situation from the other side, the WordPress logo for the general user may be unnecessarily confusing - he is in the administration of his website, so why should he see the logo of the content management system, which redirects him to a foreign page? By clicking on the WP logo, the user gets to the official page of the content management system.
Fortunately, behind WordPress, there is a huge developer community, creating countless clever extensions , that can be handy with editing. We'll show you an edit using one of these plug-ins.
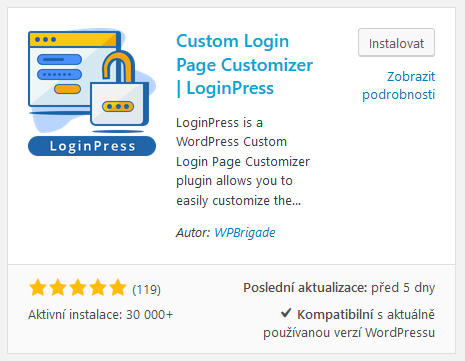
1.LoginPress, really detailed settings for the login page
The free Custom Login Page Customizer | LoginPress plugin offers a wide range of settings to help tailor your login page. LoginPress enables easy editing of the logo, page background, login form, password forgetting forms, changing the shape of buttons, adding welcome messages, changing footers and fonts.
Developers have gone even further and added the reCAPTCHA renowned feature that enhances web security. reCAPTCHA will not allow login unless the user correctly writes the code from the image.
To install and set up the plug-in, proceed as follows:
1. Navigate to the WordPress content management system administration and select „Plugins“> „Plugins installation“.
2. Look up „LoginPress“
3. Select „Install“ and activate the plugin right away by clicking the „Activate“ button
4. When activated the item „LoginPress“ will be added to the „Appearance“ menu
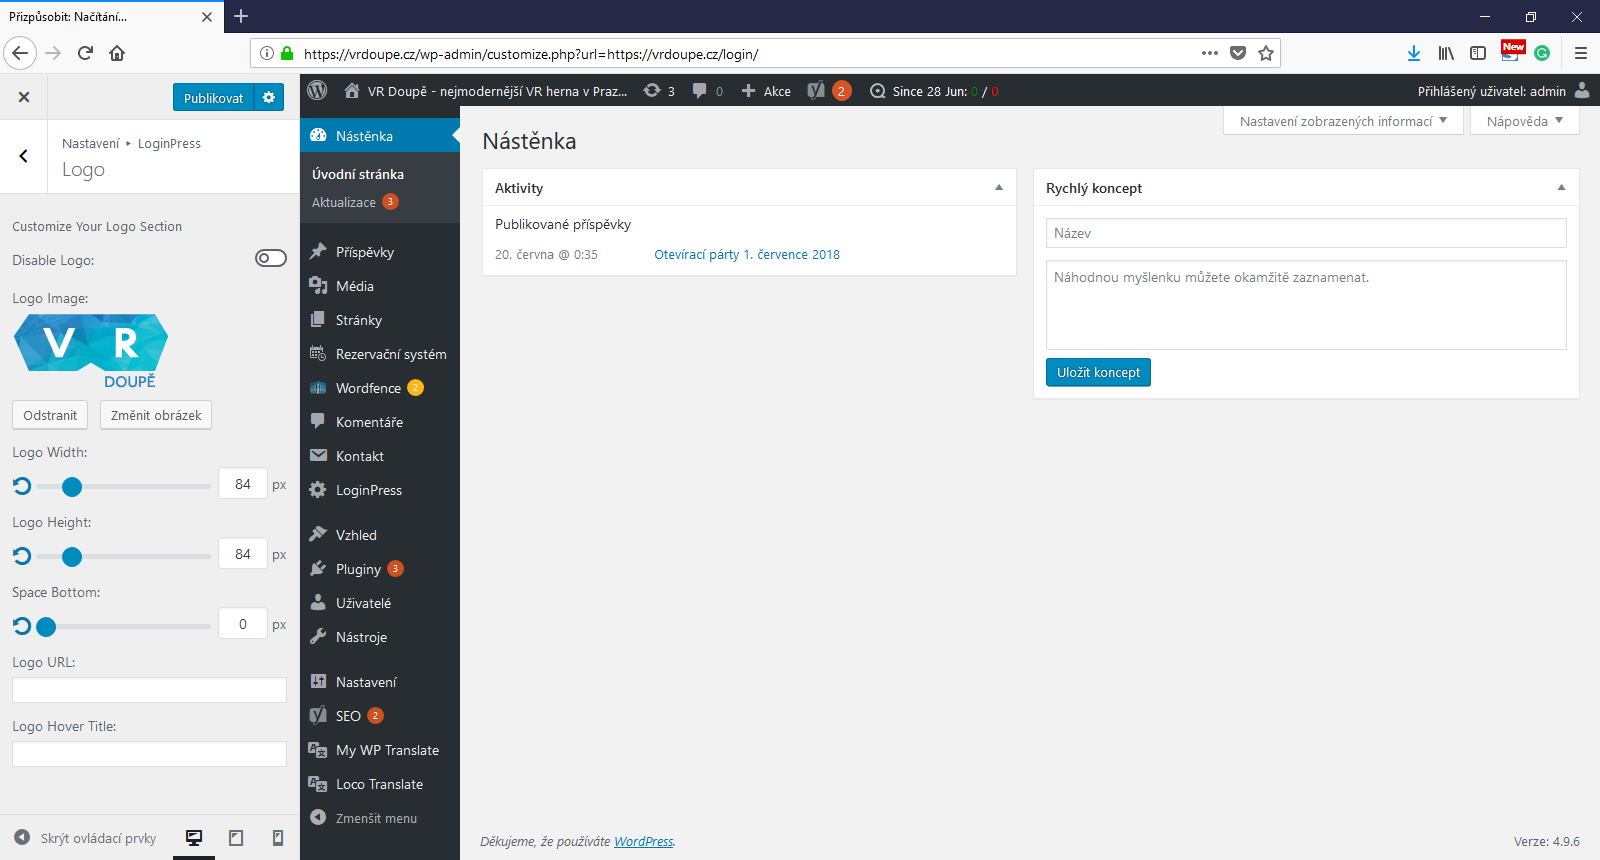
5. Click "LoginPress" to display a visual editor where you can edit and set the login page parameters.
6. Click „Logo“ and select the image to replace the WordPress logo. Next, you can choose your own address to replace the original click on the logo.
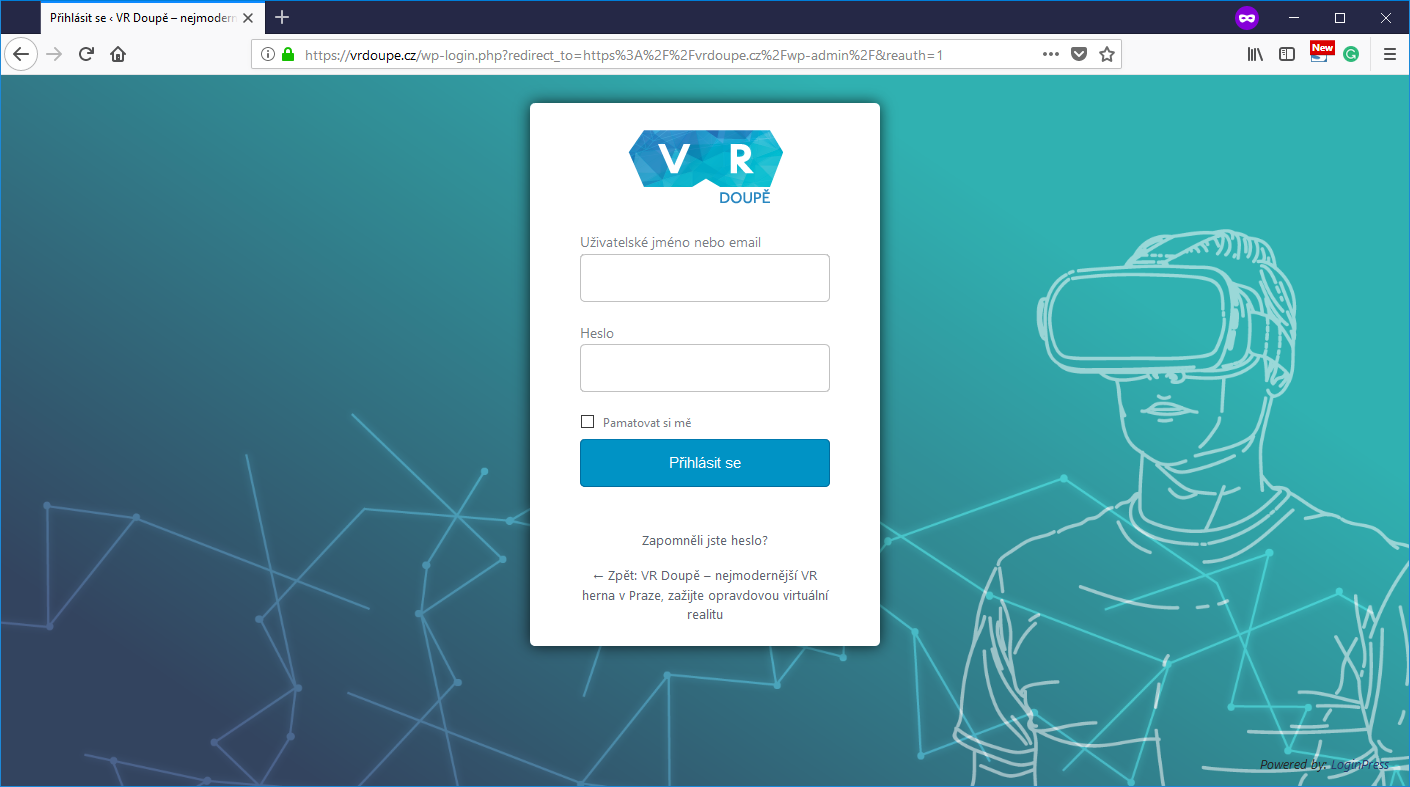
7. Clicking „Publish“ will save settings and changes will take effect on your website. The image below shows the edit, that took just 2 minutes including plugin installation.
The plugin allows for much wider modifications, and it is up to everyone to decide for the changes. As a rule, the page should remain legible and should only provide basic information that the user needs.
2.Admin Custom Login, really detailed settings for the login page
Admin Custom Login is a possible alternative from free plug-ins to modify the login page. This will allow you next to the change of logo and the link that the logo leads to, to change the color or image in the background of the login page, change the form colors, change the font size etc. The setting is again very comprehensive and it will be appreciated especially by those who want to tune the sign-up page to the smallest details.
Hint in the end: You can work more with your sign-in page. Read our article, How to change the URL address of the login page and higher your website security.