What is a favicon?

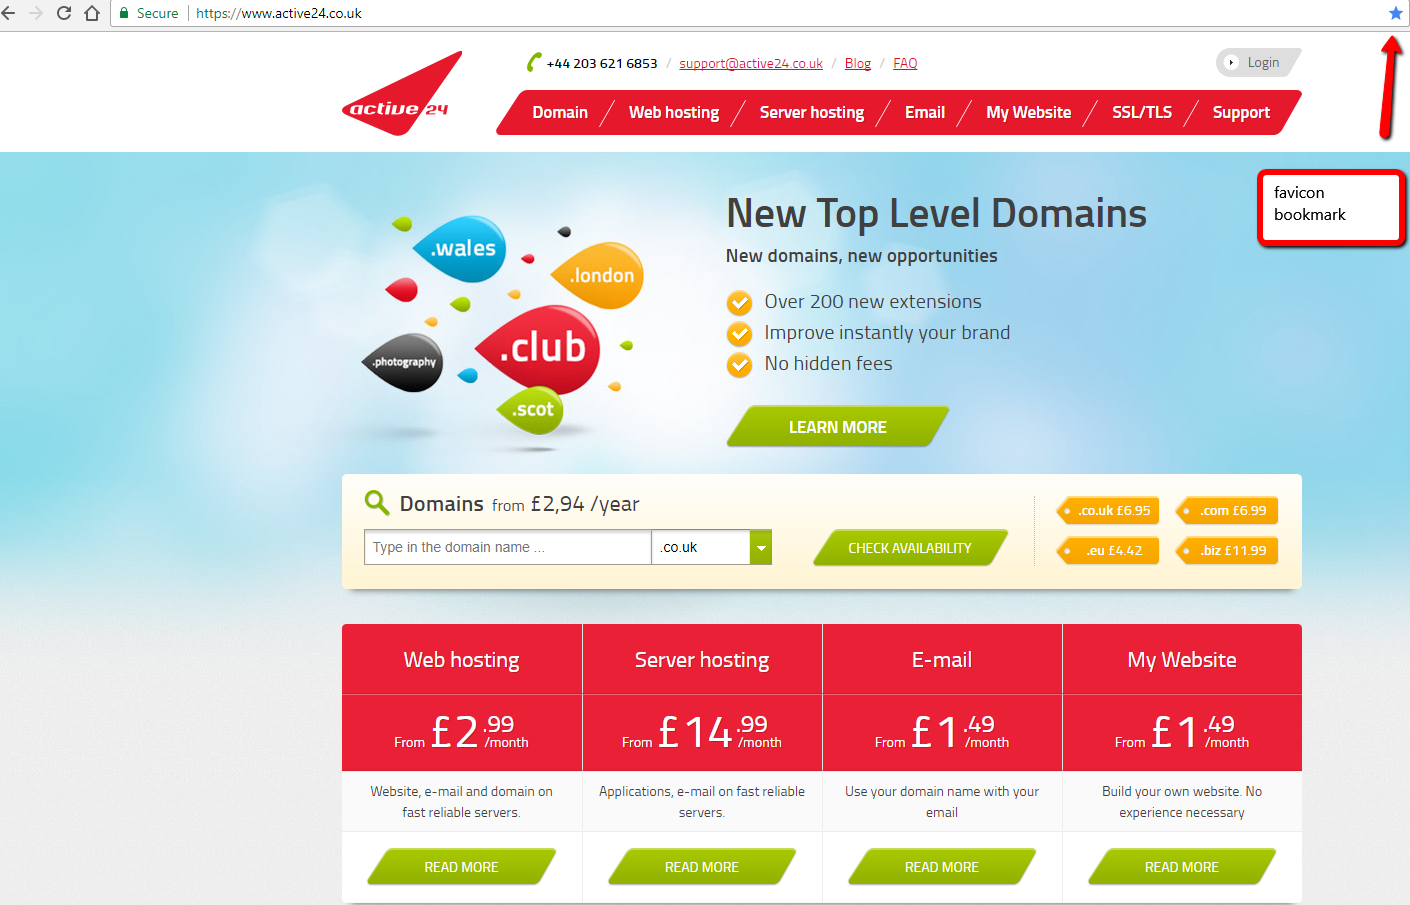
A favicon (“favourite icon”), is a small icon. Web browsers display it next to a web page´s title on a browser tab, or in the address bar next to its URL. The original idea was to make favourite bookmarks in the web browser more transparent. This favourite icon is to bookmark a favourite web page. Its file called “favicon.ico”. And placed in the root directory of the web site.
E.g. http://subdomain.domainname.extension/favicon.ico
Why is a favicon important?
At the first glance, it may not seem so important. But do not underestimate the power of a favicon. Bookmarks, web browser bars, open windows, search engines and browser´s history. This is a few of the tasks a favicon is favourable for.
The small icon is important for SEO. Not all Search Engines do show the page icon in their Search Engine Result Pages though. But it is often used to increase the online visibility of websites.

For example, search giant Google does not. But, this is not a significant reason to leave the icon out. But, the Internet is more than Google. And popular new search engines, such as DuckDuckgo.com, know that. This is an anonymous search engine, that takes favicons into account. And display them on its search pages.
So, if you want:
- Web Transparency: to make your WordPress website more transparent
- Web Identification: to make your WordPress website identifiable.
- Web Visibility: to increase the online visibility of your WordPress website.
Do not forget to add a favicon to WordPress.
How to create a favicon?
You can create a favicon in two ways:
- With a graphic editor
- With an online favicon generator
1. With a graphic editor
- Logo: Use your website logo to create a favicon.
- Graphic Editor: Use a standard graphic editor, like GIMP or Photoshop to create a favicon.
- Colors: Select either 8-bit or 24-bit colour.
- Favicon Size: Use 16x16 pixels or 32x32 pixels as the format of the favicon image.
- Save As: Save the picture to .PNG,.GIF or.ICO (W3C standard, 2017).
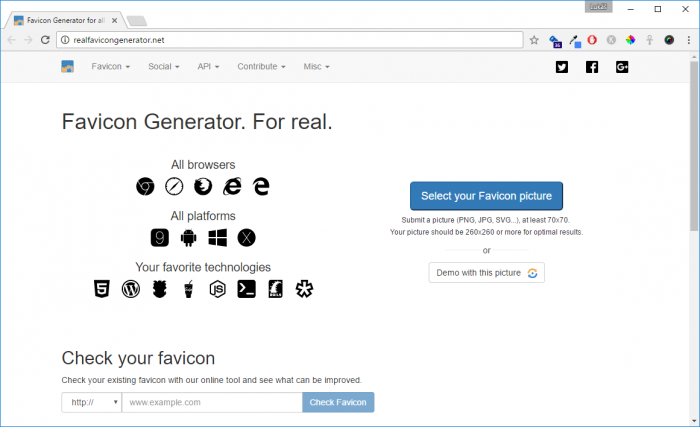
2. With an online favicon generator
Instead of creating the favicon yourself, you can also use online favicon generators. They convert an uploaded image into a miniature icon in the correct format and size.
- Logo: Your logo is your corporate identity. So, use it to create a favicon.
- Favicon Generators: Use one of the favicon generators, like:
- favicon-generator.org
favicomatic.com
realfavicongenerator.net
- Favicon Size: Use 16x16 pixels (standard) for the desktop. Some favicon generators generate different sizes, compatible with mobile devices and applications.
- Save As: Save the picture to.PNG, or JPEG logo.
- Enter favicon.png as the file name
- Click Save
- Go to the Finder
- Find the file, and rename it “favicon.ico”.
- Confirm that you want to change the file extension.
- Click “Use .ico” to continue.
TIP: If the logo is not available, you can create your own icon. Select text and colour. Within a moment, you have generated your one ready-to-use icon.
Favicon Browser compatibility
After you have prepared the favicon, it is time to upload the favicon file to the server of your website. Take into account that "not all web browsers are compatible to share a favicon". Older browsers, such as Internet Explorer, need a link to the code icon:
- In the site administration, navigate to "Appearance" - "Editor".
- In the right column, select “header.php”.
- Locate a line of code starting with:
- < link rel = "shortcut icon" and ending /favicon.ico "/ >
- Replace it with:
- < link rel = "shortcut icon" href = " / Favicon.ico" / >
- If you can not find it, put this code under the header, ie "< head >" tag.
Some WordPress templates have the option to upload an icon in their settings. In WordPress version 4.3 or up, the favicon detects web browsers versions from the site source folder:
- Open your File Transfer Programs, such as Total Commander or Filezilla.
- Log in with your FTP-details to access to your web host
- Upload the icon to the root folder via the FTP interface.
WordPress favicon
How to add a Favicon in WordPress
With a WordPress version 4.3 or up, you can add the favicon to your website:
- Login to WordPress admin area with your login details.
- Go to “Administration Screen”, “Appearance” - “Customize”
- Click on the 'Site Identity'. To change the site title, description and control whether you want to display them in the header.
- Click Select Image at “Site Icon”.
- Upload the image file you prepared, from “Upload Files”
- And click “Select”.
TIP: When you look at your browsing history, the favicon icon will show you the current browser. The same goes for your favourite bookmarks.