WordPress defaultly creates thumbnail images at pre-set dimensions specified by the template used. In some cases it may not be enough for you. Were you accustomed to using images of specific dimensions? It is then more appropriate to automate their generation. You avoid a lengthy croping in your computer editor. How to automate generating cropings and thumbnail images in WordPress?
WordPress generates thumbnails and image cropings in the following dimensions in the default settings:
- Thumbnail (150 px, square croping)
- Middle image (maximum 300 px in width and height);
- Large image (maximum 1024 px in width and height);
- Original image (original sizes).
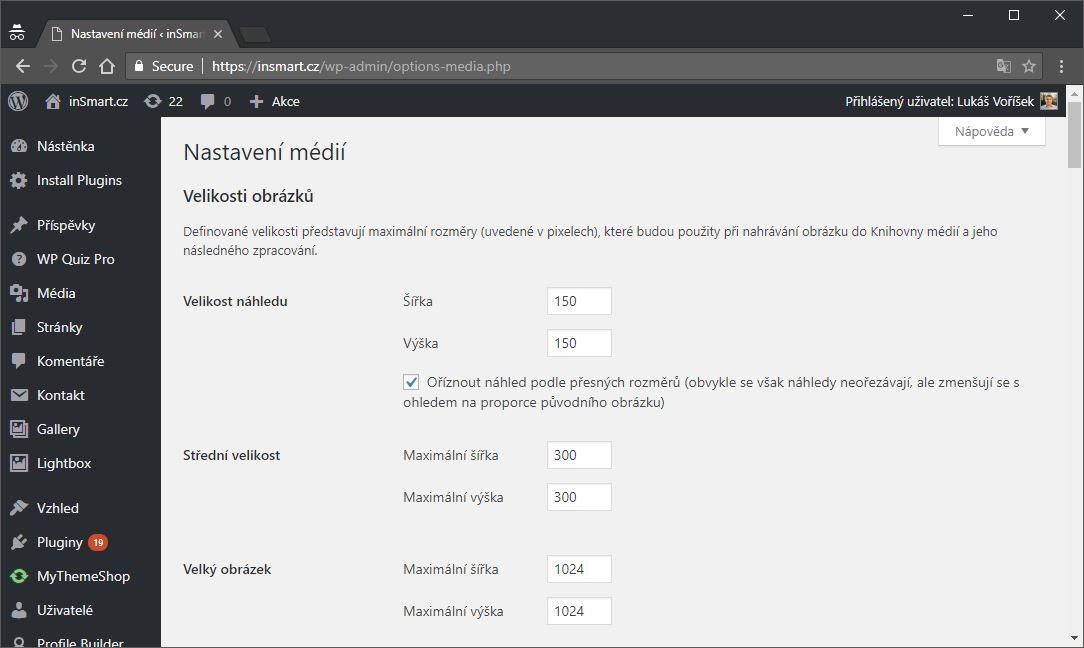
Obviously, the choice of dimensions is not wide. Let's look at how to add custom cropings and image sizes without having to edit the site's source code.
Do you ask why is it beneficial to generate thumbnails of images in different sizes? When using the original dimensions of a recorded image (e.g.1920×1080 pixels), it would mean that even in the place where the image appears on an area of 640 × 360, the original large image will be loaded in the background. After the browser loads, the image will diminish the image for the visitor. The download of the website will be unnecessarily slower, the user will unnecessarily download more data and that means higher server load. This will have an impact not only on the site visitor but also on the search engines. For some time now, slow web sites have already been penalized with worse positions in organic search.
1. Simple Image Sizes – custom dimensions of images available in a few clicks
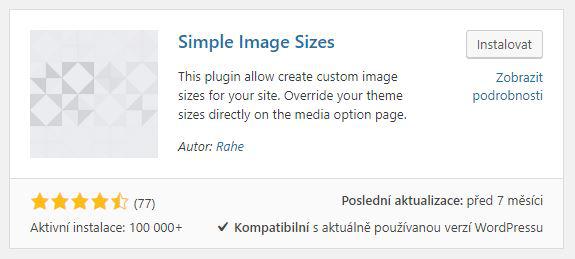
The free Simple Image Sizes plugin offers the ability to create custom size images and cropings. It also makes it easy to set up what dimensions the user views in the editor and those that are only for use in the page template.
Follow these steps to install and set up the plug-in:
- In WordPress administration site select „Plugins“> „Install Plugins“.
- Look up the „Simple Image Sizes“ plugin.
- Proceed to „Install“ and activate the plugin right away by clicking the „Activate" button.
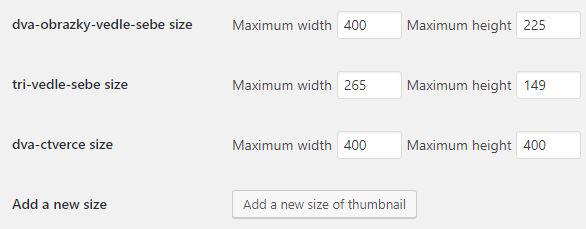
- Navigate to „Settings“ > „Madia“, where you can see an overview of the defined image sizes.
- Click the „Add a new size of thumbnail“ button below to add the new thumbnail size.
- Select the name and confirm it by clicking „Validate image size name“.
- The new line with the selected name will appear in the list. Select the preferred width and height. Select a name that will then appear in the editor in the "Public name" box.
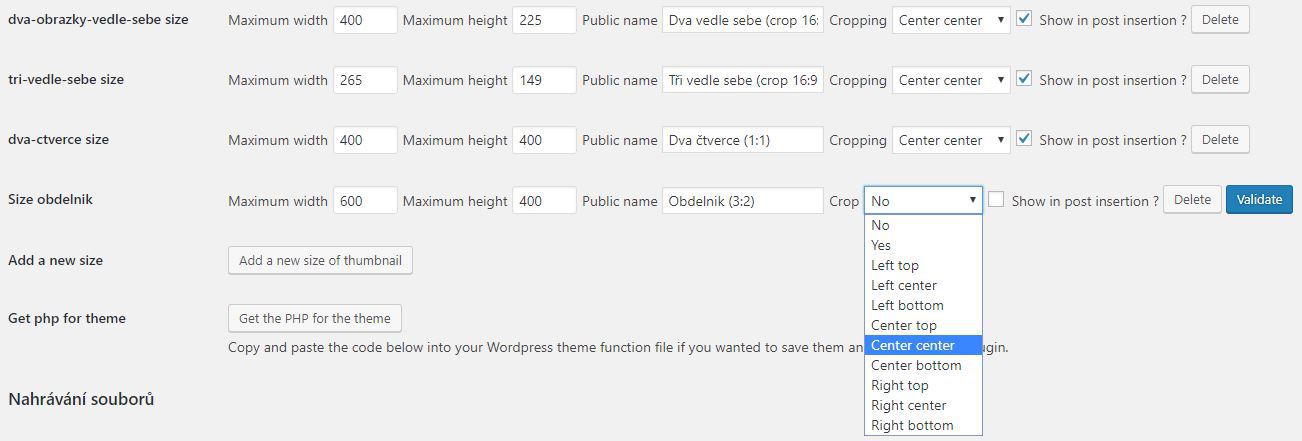
- The „Crop“ item is very important. This defines how the image will be cropped - which part will be cropped and which will be preserved. A frequently used option is "Center Center" which represents the cutting of the center of the image. It is up to you to select the crop. For example, if you know that an important part of your image is regularly located in its lower left corner, choose "Left bottom".
- Finally, you choose whether to display the new size in the editor. This applies if you include it in your site and articles. In this case, we've checked the item and clicked the "Validate" button.
- Just upload a new image and in the editor you should already see the option to insert it in a new dimension. You will not see this option for older recorded images. How do we fix this?
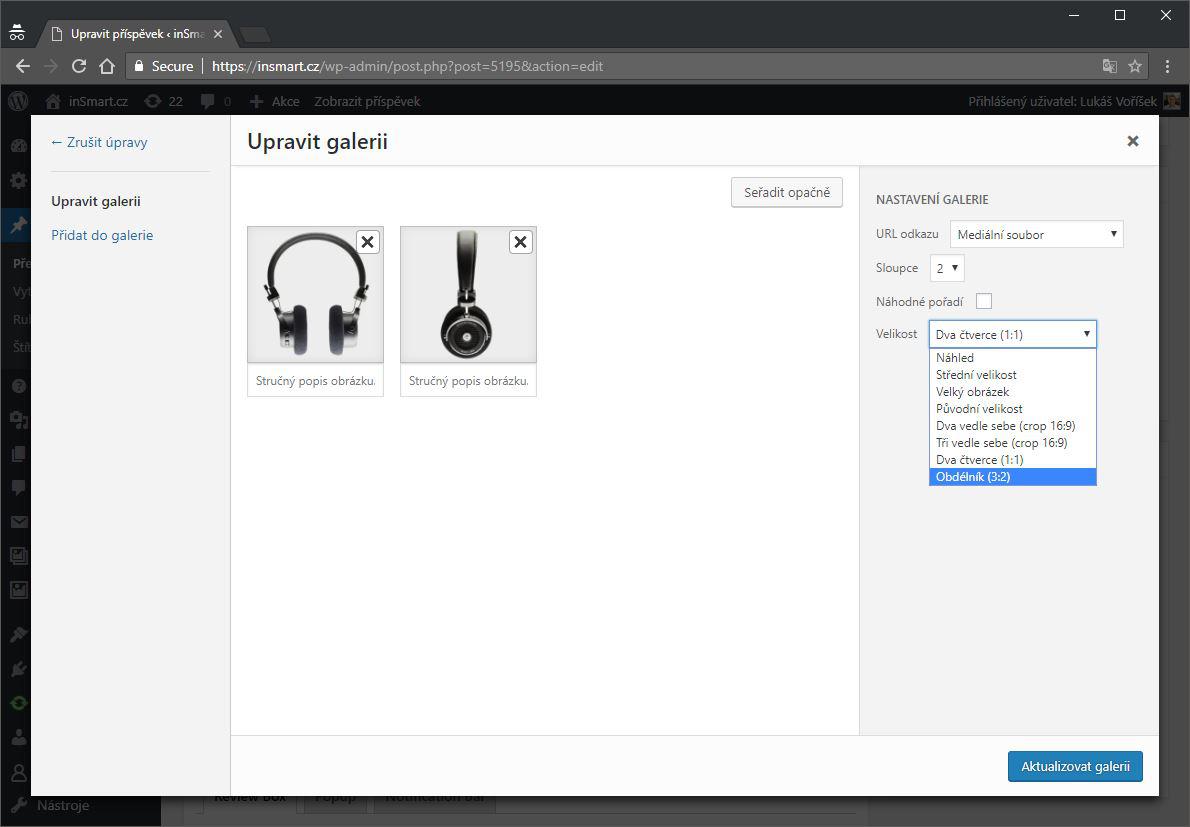
In the figure, we can see that four of the original image sizes have been complemented by new four image sizes that fit better into the content and better matches the site template.
2. Regenerating image croppings
In the editor, we can see that, after creating new image dimensions and croping, media files uploaded before creating a dimension can not be embedded in a new size in the article or page. This is because all the dimensions and crops of the image are generated at the moment of their upload. Plugin builders created the "Thumbnail regeneration" feature.
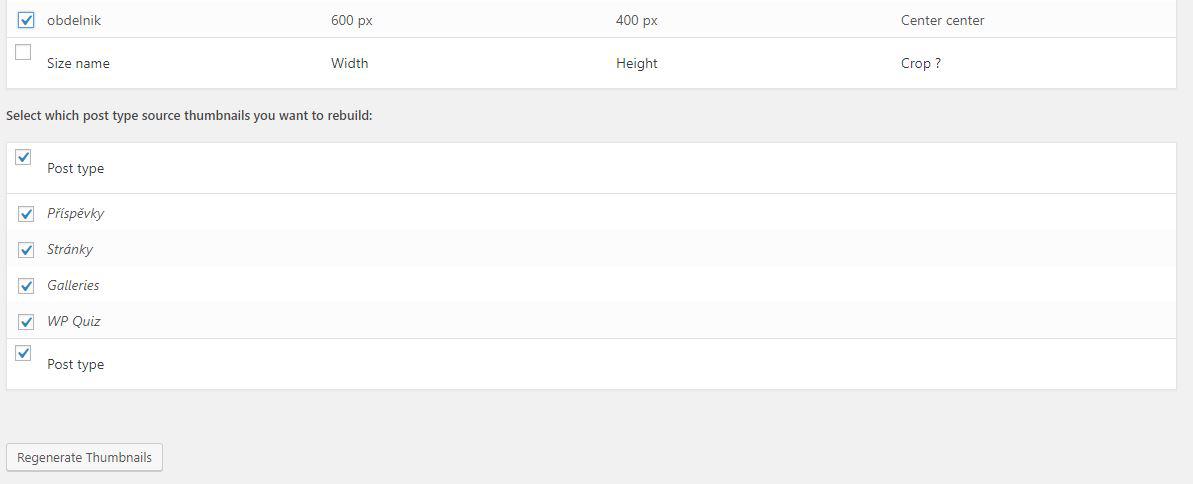
You can find it on the same page as the image size setting in the menu “Settings" > “Media“. Here you can select which image dimensions are to be re-generated. We recommend that you uncheck all dimensions by clicking on the first box. Then, select the newly created dimensions in the beginning and confirm with the button „Regenerate Thumbnails“.
The time needed to generate new thumbnails will be calculated. Than just wait for the process to finish. After successfully generating a preview, the editor will offer the option to insert a new image size for all images. Even for those that had been uploaded before creating your own preview dimension.